
Always Growing
Founded in 2005, our family owned and operated business has grown to offer everything from wine and beer brewing supplies to whole bean coffee, coffee grinders, coffee roasters, cheese making, soda, CBD oil, still supplies and a wide variety of loose leaf teas. Connoisseurs can find something that meets their tastes in our online store or in person at our legendary Manitowoc, Wisconsin location.
Take a Tour of Our Store!
Wine & Beer Classes
Learn the basics of crafting your favorite wine or beer from our favorite brewmasters while connecting with fellow brewing hobbyists.
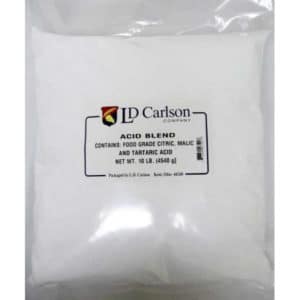
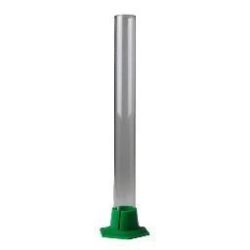
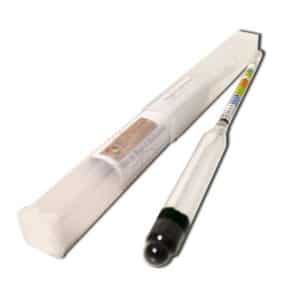
Brew At Home
Explore the variety of wine and beer-crafting essentials available in our online store.
SUPPLIERS
With over a dozen reputable suppliers, Grape Grain & Bean is proud to offer an array of top quality products and ingredients.